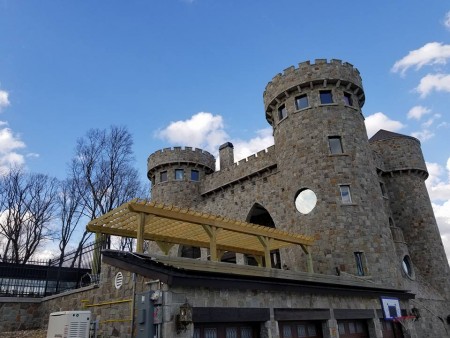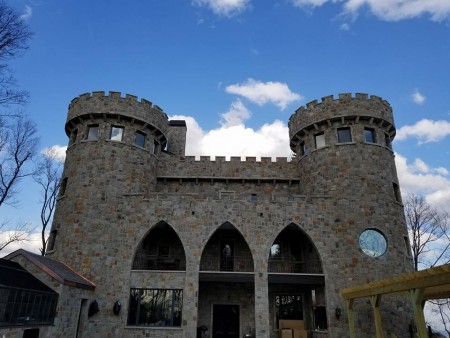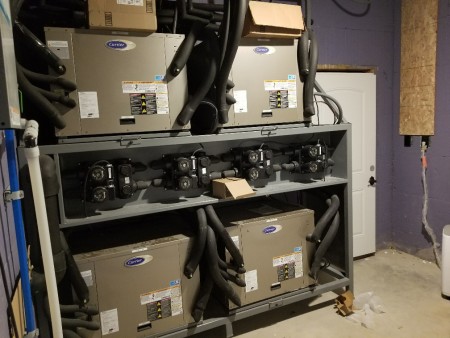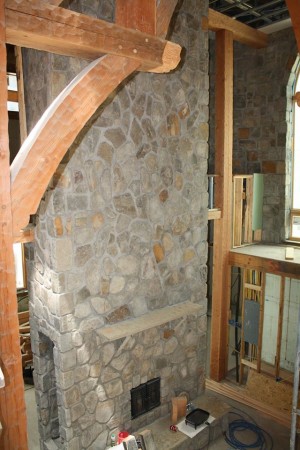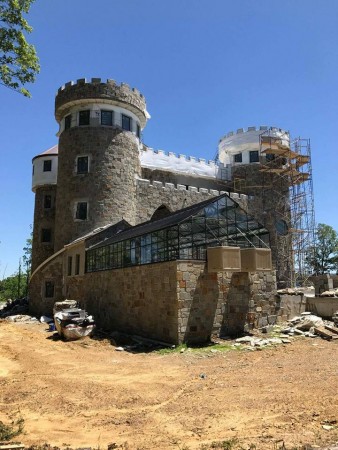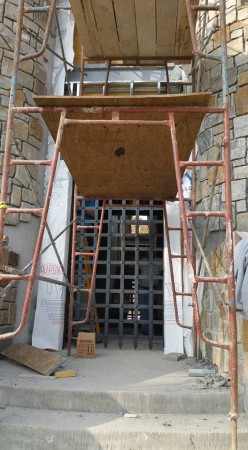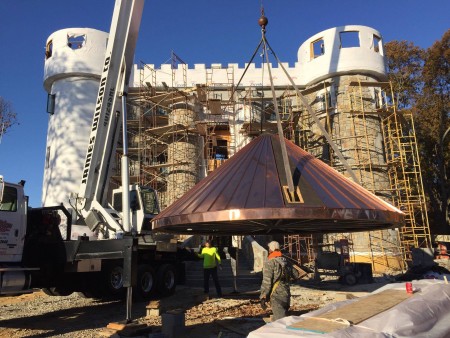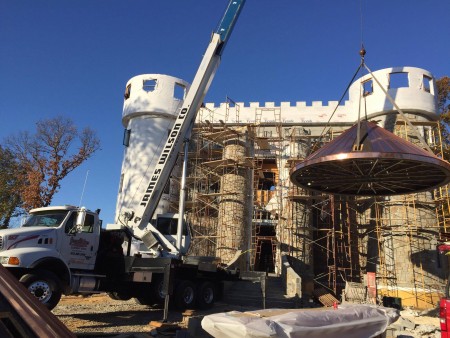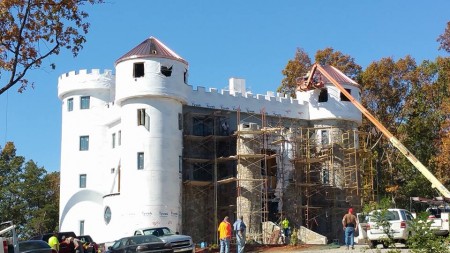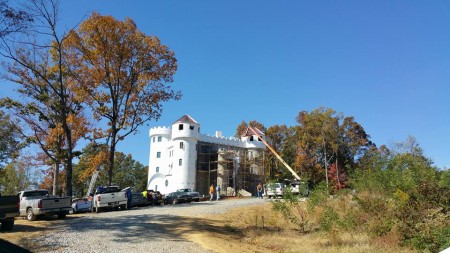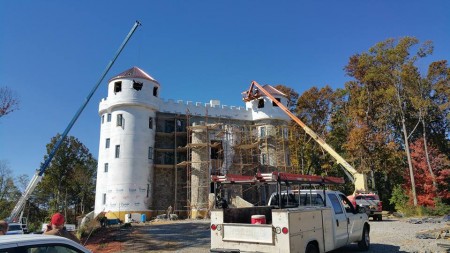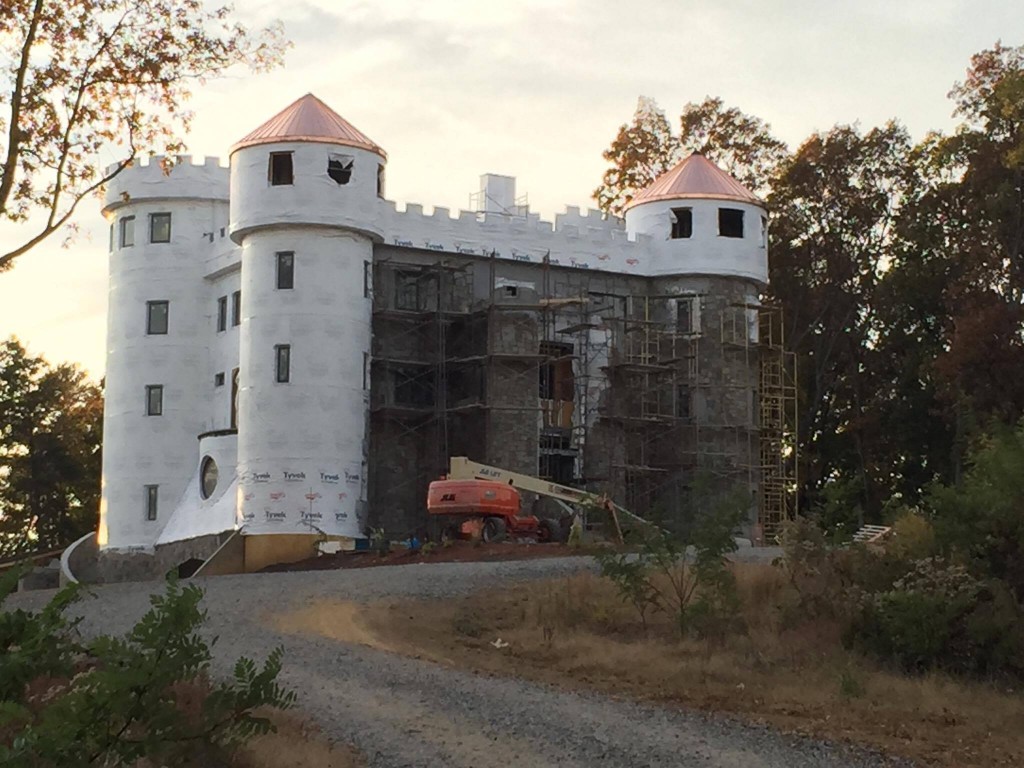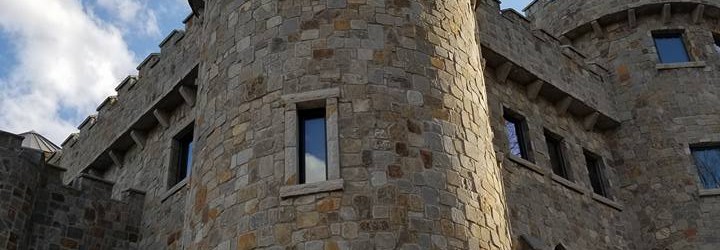

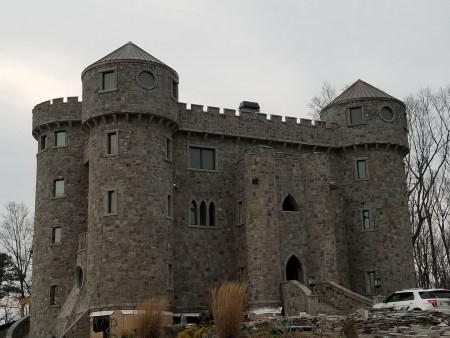
The masons laid the last wall stone on March 28th 2018. The first had been laid on February 7th 2016. So it was over two years. It didn’t need to take so long but we had supplier problems and changed crews a couple times and had small crews generally. But the exterior stone is now done. Now we move to cleaning and landscaping. Spreading top soil, moving dirt, pouring the driveway. There is a splayed base that comes up the front that is going to be made of packed earth and rubble that needs to be done, but I include that in with the landscaping. So the home stretch. Of course still waiting on the pool to be finalized.
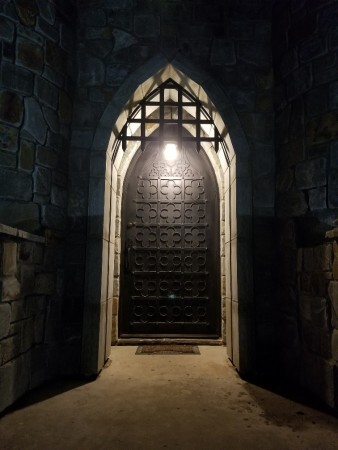
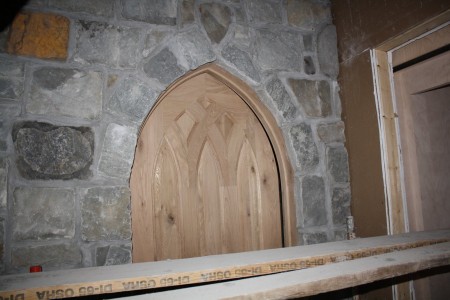
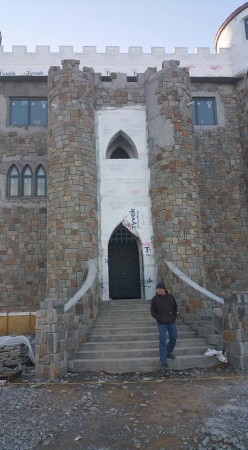
Below is a picture I took the day the last stone was applied. For those curious it was around the rectangular window to the left of the round window on the front right tower.
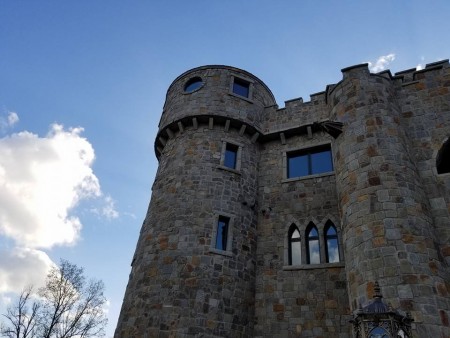
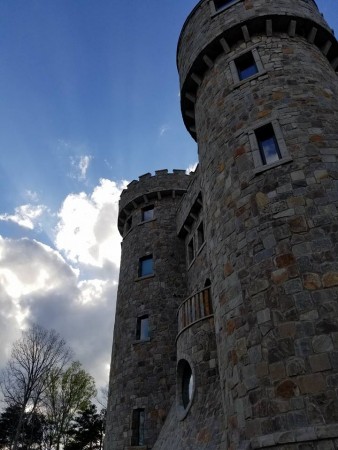
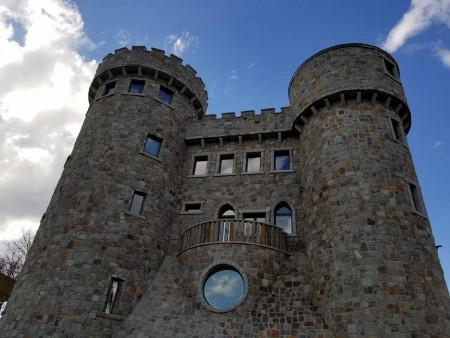
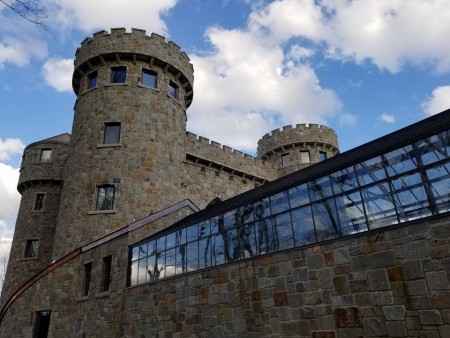
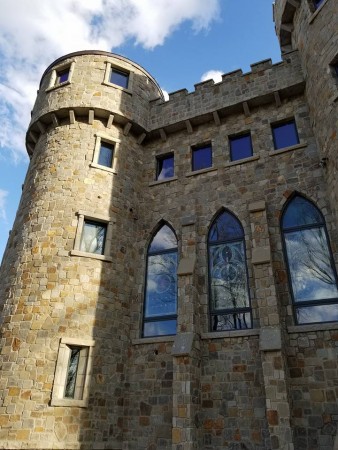
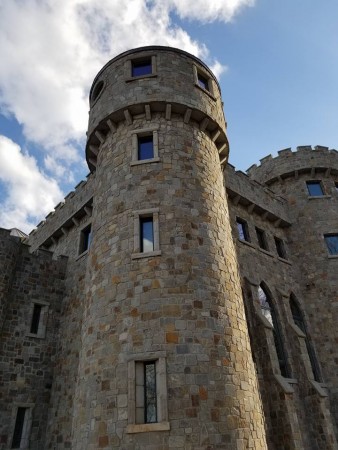
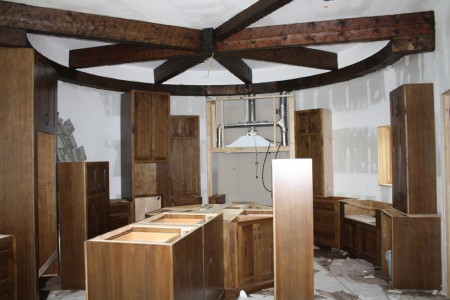
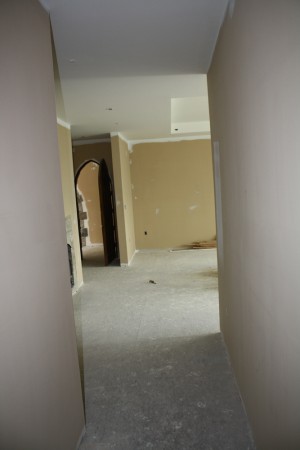
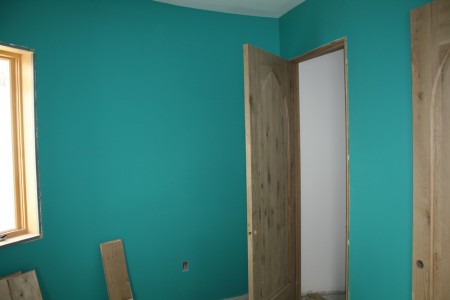
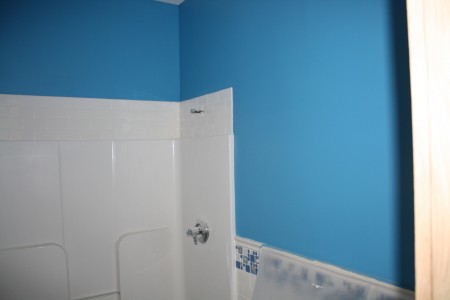
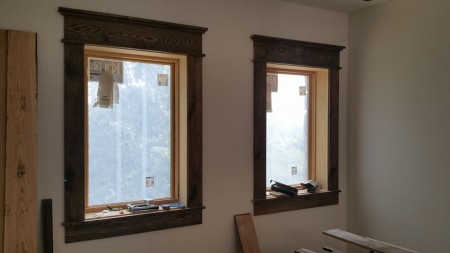
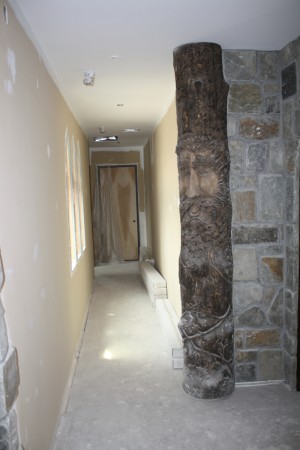
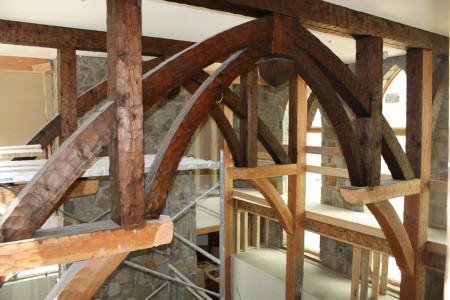
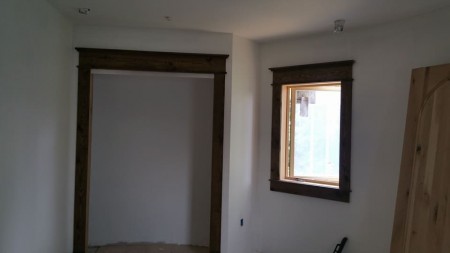
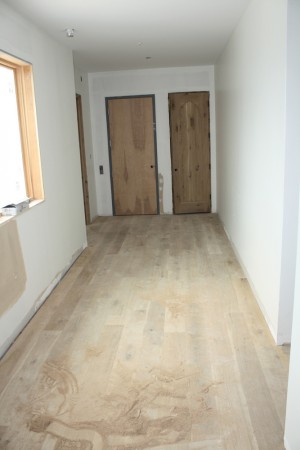
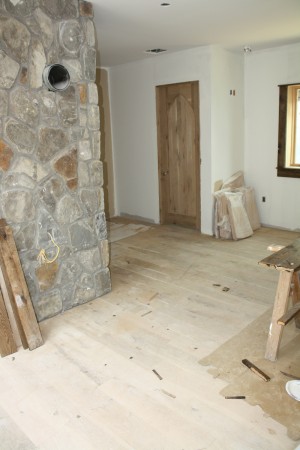
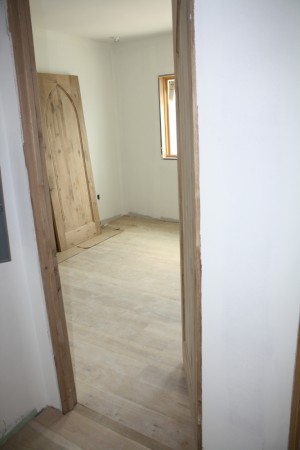
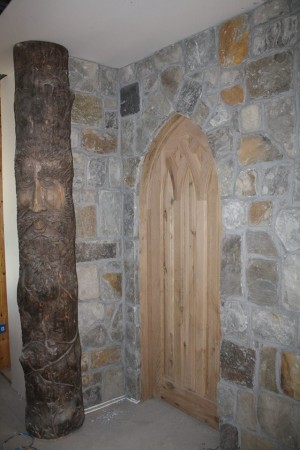
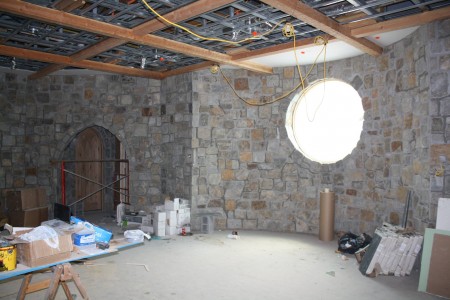
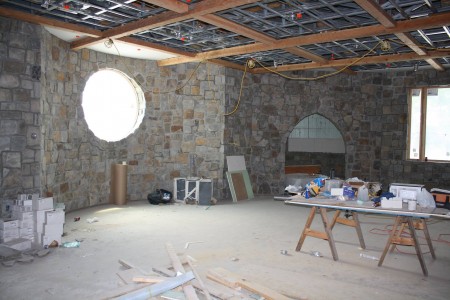
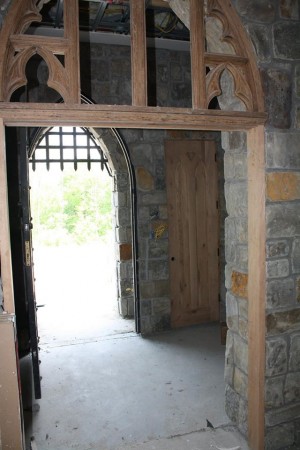
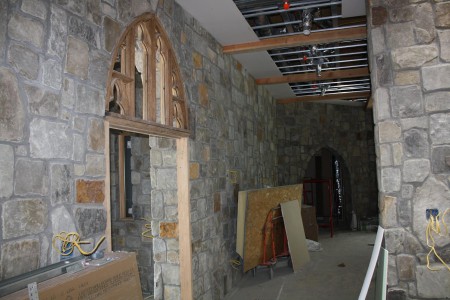
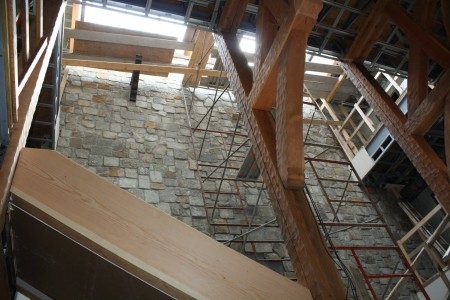
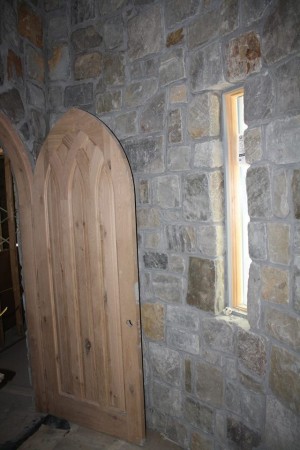
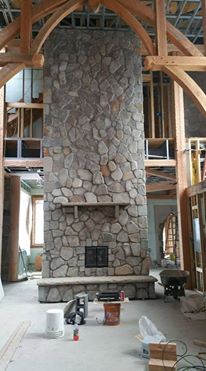
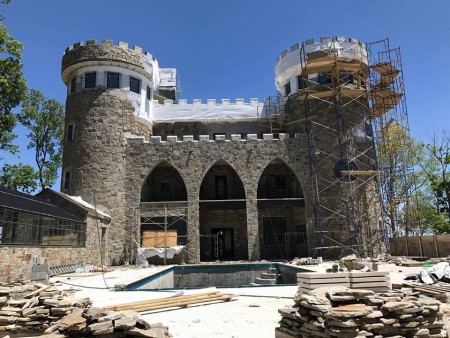
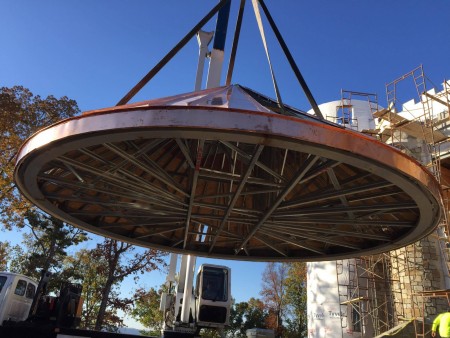
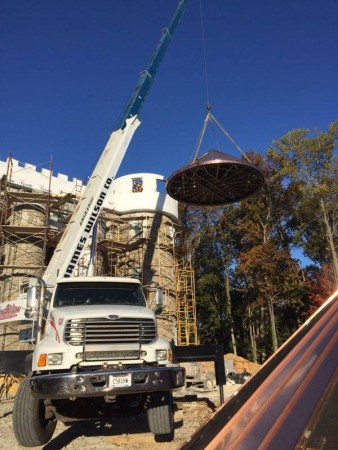
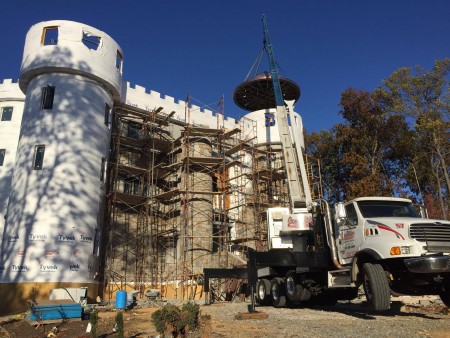
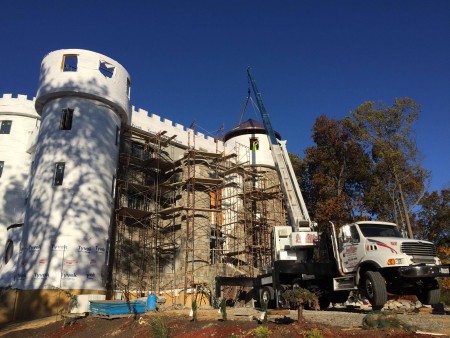
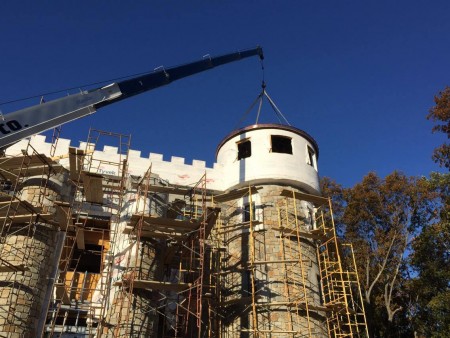
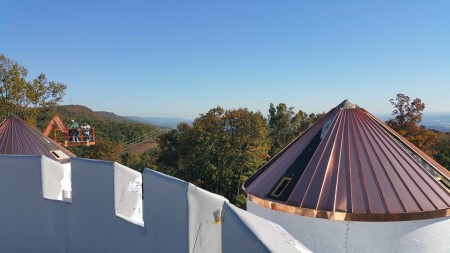
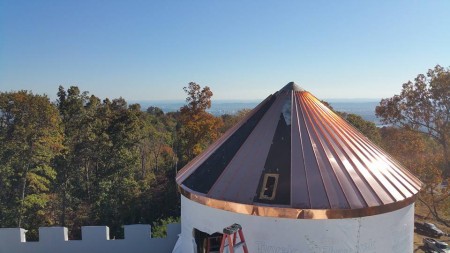
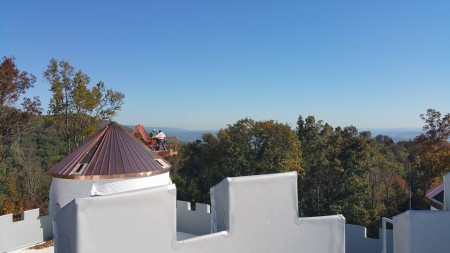
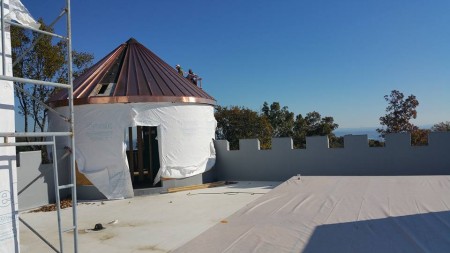
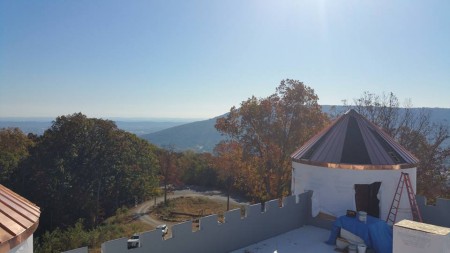
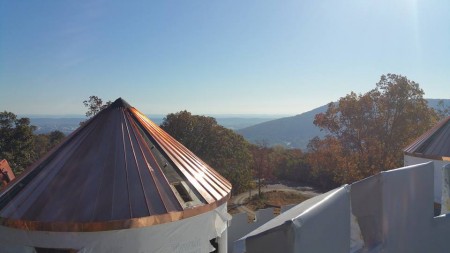
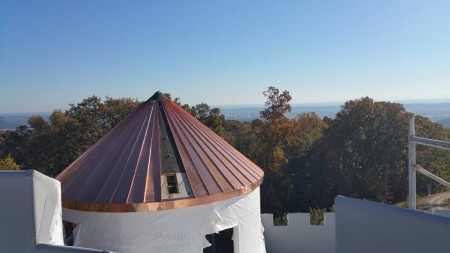
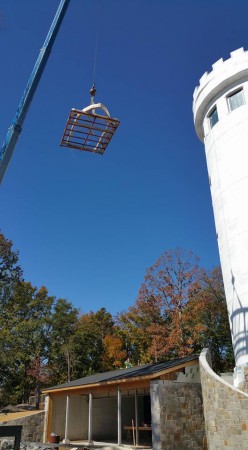
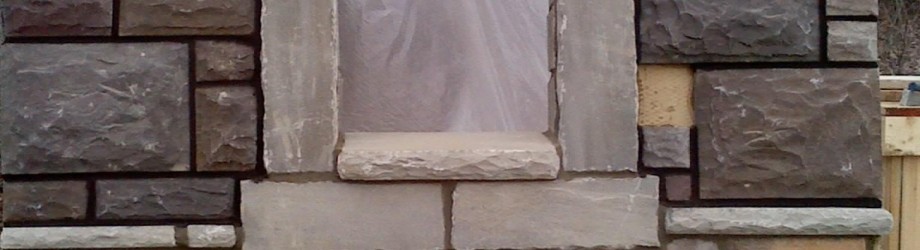
Then there are some pictures I took one day when we had excellent lighting.